

Almost Oreos

Date Completed: 8/21/2022
It’s time for a major cookie photoshoot brought to you by the Stuffed and Filled Cookies chapter of Craving Cookies by Helen S. Fletcher.
I’m excited to tell you the I jumped on the black cocoa powder bandwagon. Honestly… it lives up to the hype in my opinion!
I have a lot to tell you about these cookies, so let’s dive straight in!
I purchased a bag of Black Cocoa Powder online. It’s really neat how specialty ingredients are so easily available!
The recipe itself started by combining the dry ingredients (flour, cocoa, and salt). We were careful to use the gram measurements to keep everything as exact as possible.
I was just fascinated by the color of the black cocoa throughout this process!


Next up was creaming butter and sugar, adding an egg and vanilla, etc. All very normal cookie-baking steps! Of course, I got excited when it was time to incorporate the dry ingredients.


You then chill the dough for about 2 hours. It needs to be really cold because the cookies are rolled into balls and then stamped into shape - so interesting!
I had assumed these would be rolled out and cut with a circular cutter. It seemed the only logical way to get them uniform and thin. I really loved that these were stamped instead of rolled out because it made it so much easier to work with the dough.
In the original recipe, Helen uses the plunger of her food processor as the stamp because it was the right size and had an interesting pattern.
Being without a real food processor ourselves, Garrett and I headed to our favorite local kitchen store the day before making these cookies to see what we could find. We came home with a really interesting tool I’d never previously seen: a cookie stamp! The one we chose came from a springtime set and had a cute honeycomb pattern on it.
Funny enough while we were out we also bought a bottle of a French Chardonnay that had a neat rose pattern in the glass at the bottom. We decided to try both options!
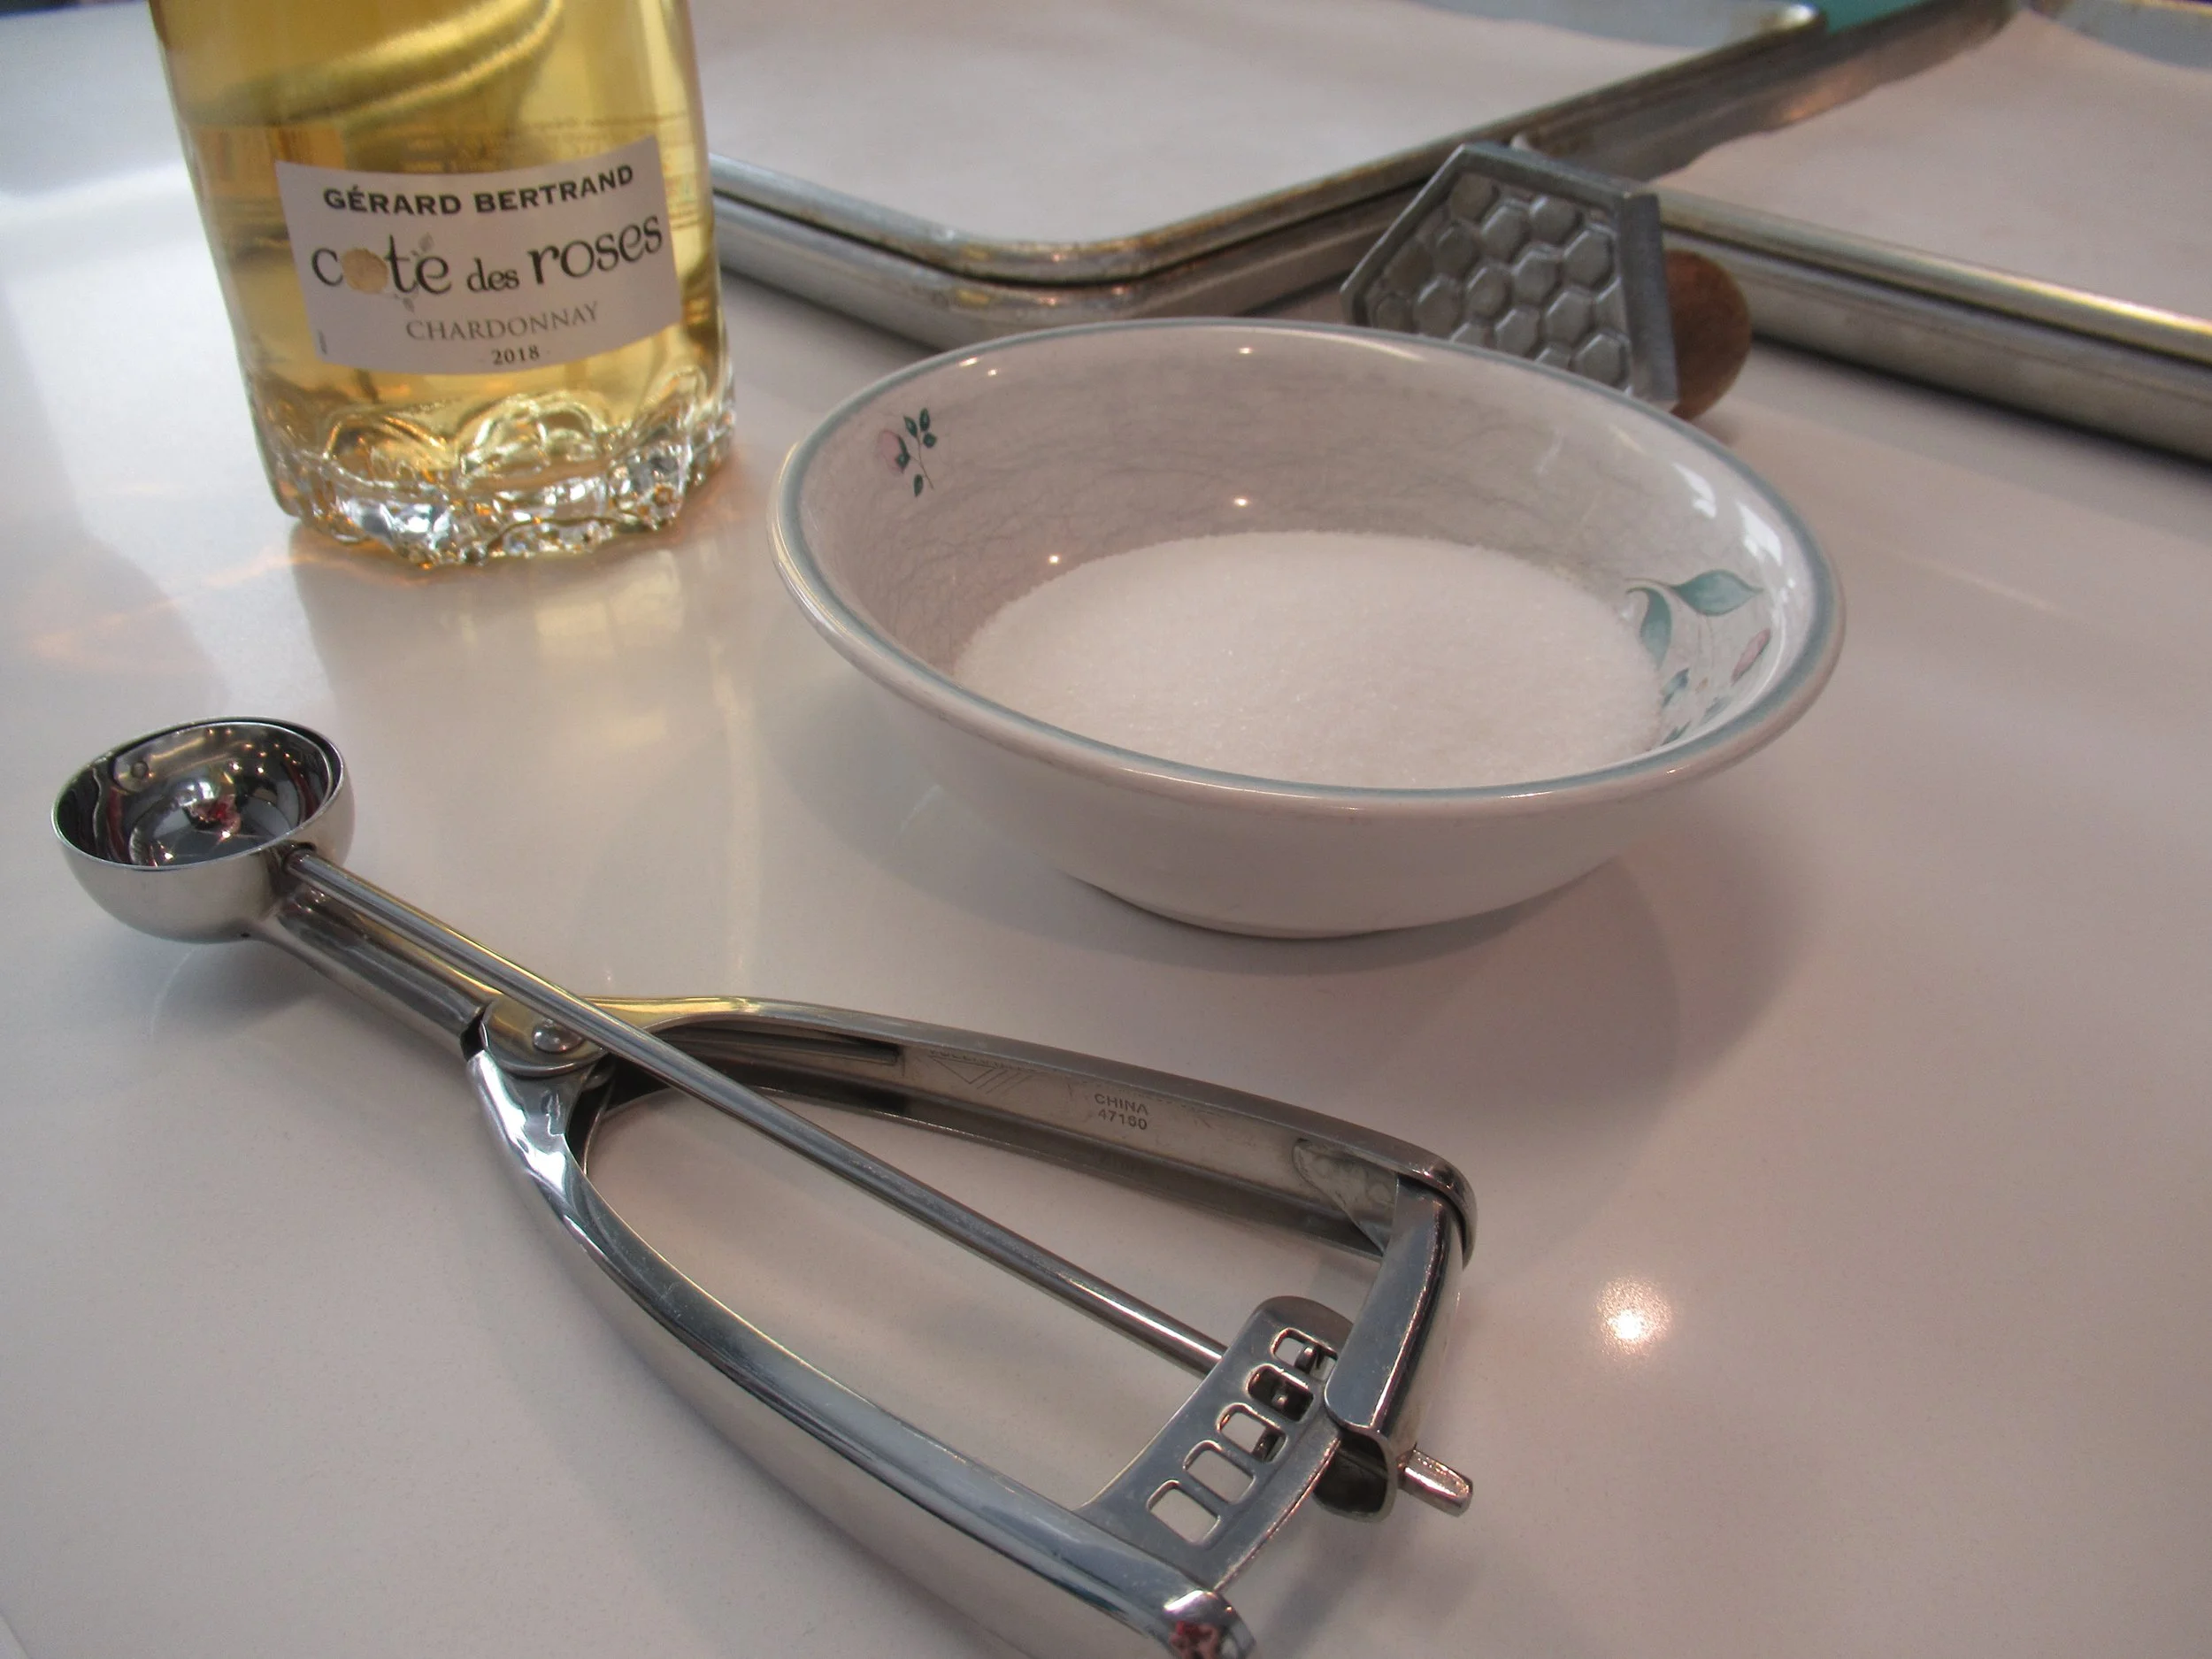

Although the pattern of the rose on the bottom of the wine bottle was beautiful, it wasn’t flat enough to work with these cookies (they looked like odd lumps). Luckily the cookie stamp worked like a charm!
You do have to make sure to keep the cookie dough cold. We only rolled out three balls at a time and returned the dough bowl to the fridge in between each set. The recipe also tells you to dip the stamp into a bowl of granulated sugar in between each cookie to help prevent the dough from sticking. It inevitably did stick, but was fairly easy to peel off the stamp.


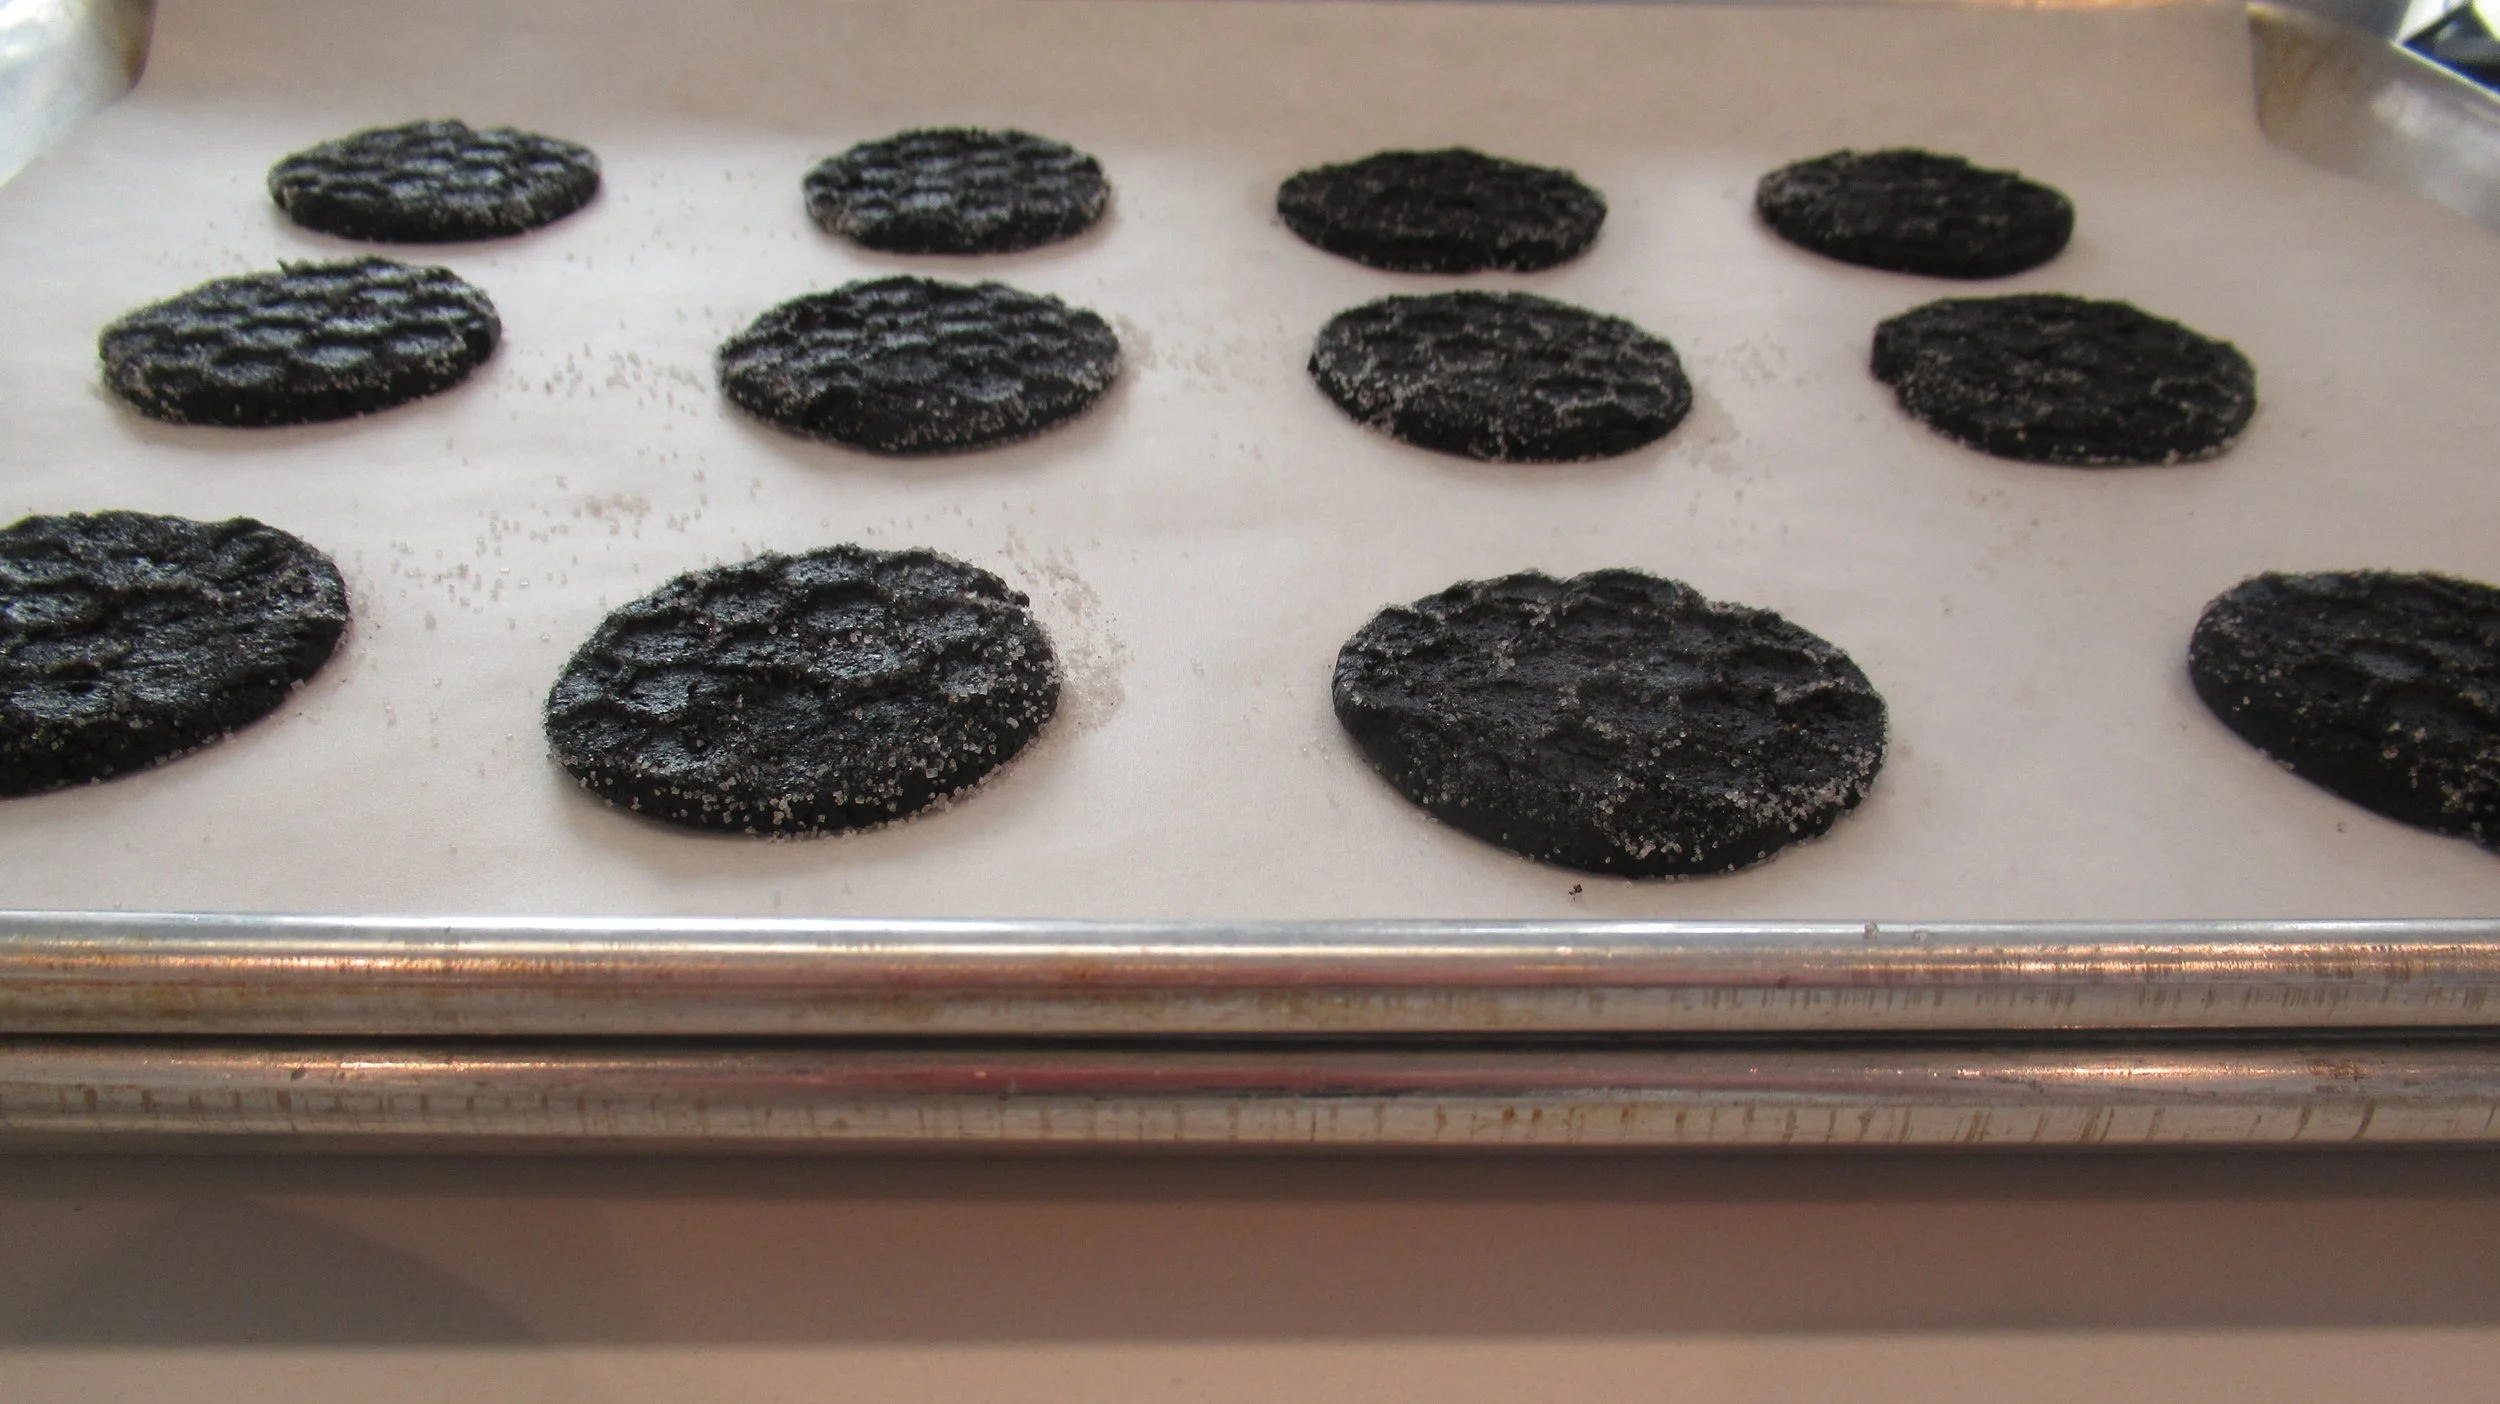
I was impressed how the cookie stamp made them into nearly perfect circles. And the honeycomb pattern looked really neat!
We chilled the cookies on the trays for about 20 minutes before baking to help retain the shape and definition of the pattern.
I learned about the technique of double panning from this recipe. It’s exactly what it sounds like: you stick an extra pan underneath to give your cookies a little extra shield from the heat. This technique was important to ensure the cookies would bake through and be crispy without burning.
They had to bake for about 22 minutes which (to me) is quite long for a cookie. It would have been very difficult to tell if they had burned due to the color!

The buttercream filling came together in a snap! We simply beat powdered sugar, softened butter and vanilla in the mixer until it was all nice and fluffy. We didn’t tint our filling with any colors, but that would have been very easy to do.


Now that we had both components complete, we were ready to assemble the sandwiches.

Helen included lots of helpful assembly hints in her recipe! She recommended matching the cookie pairs by size and shape. They were so uniform that this was no trouble at all. She also recommended putting the less beautiful cookies on the bottom of the sandwich - that made me laugh!

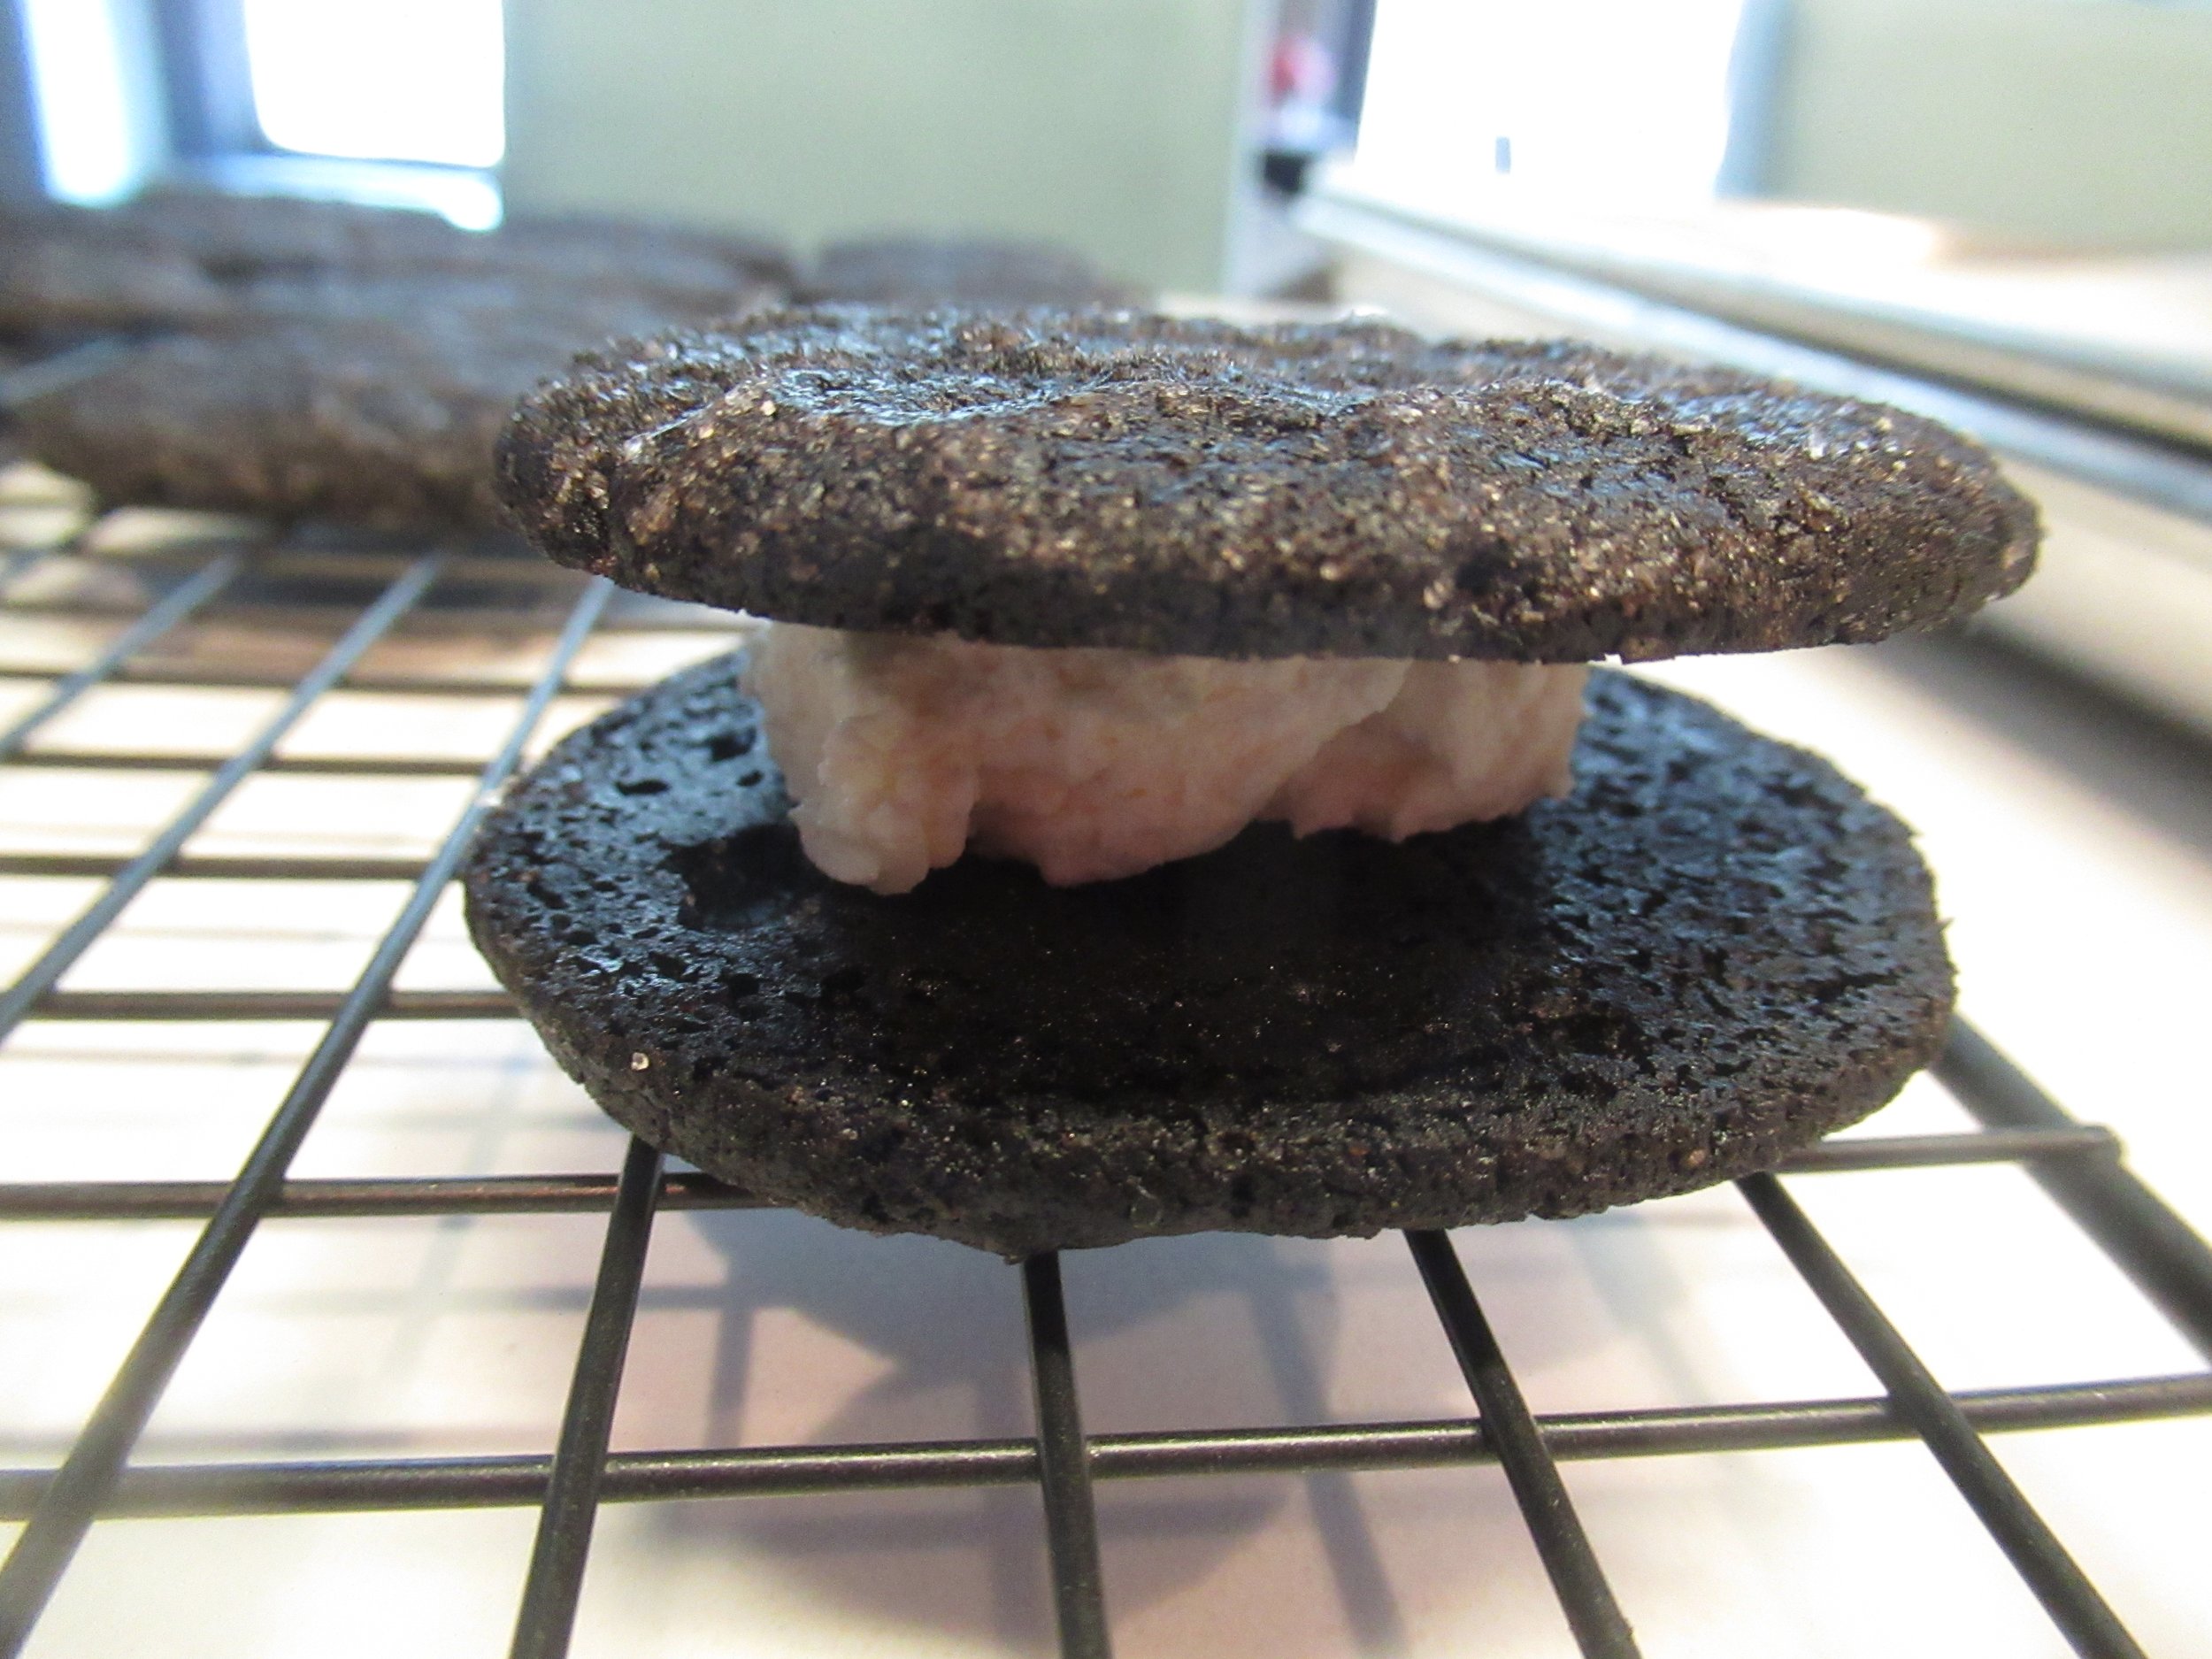

I also learned some tricks myself! I always put the dollop of buttercream right in the center. I scooped it with a cookie scoop to be sure it was the same amount on each. Then I used a flat hand to press down on the entire cookie evenly. I found if I pinched the cookies together with two fingers the cream tended to be heavier on one side or the other.
Take a look at that cookie assembly line!

Throughout the following taste report, please enjoy my very silly cookie photoshoot. We picked up some colorful napkins at the kitchen store and I felt inspired!
Taste Report:
Wow! Long story short: these cookies really do taste like Oreos.

I’ve seen lots of bloggers obsess over black cocoa powder. I really thought it was just for the color. BUT the taste!
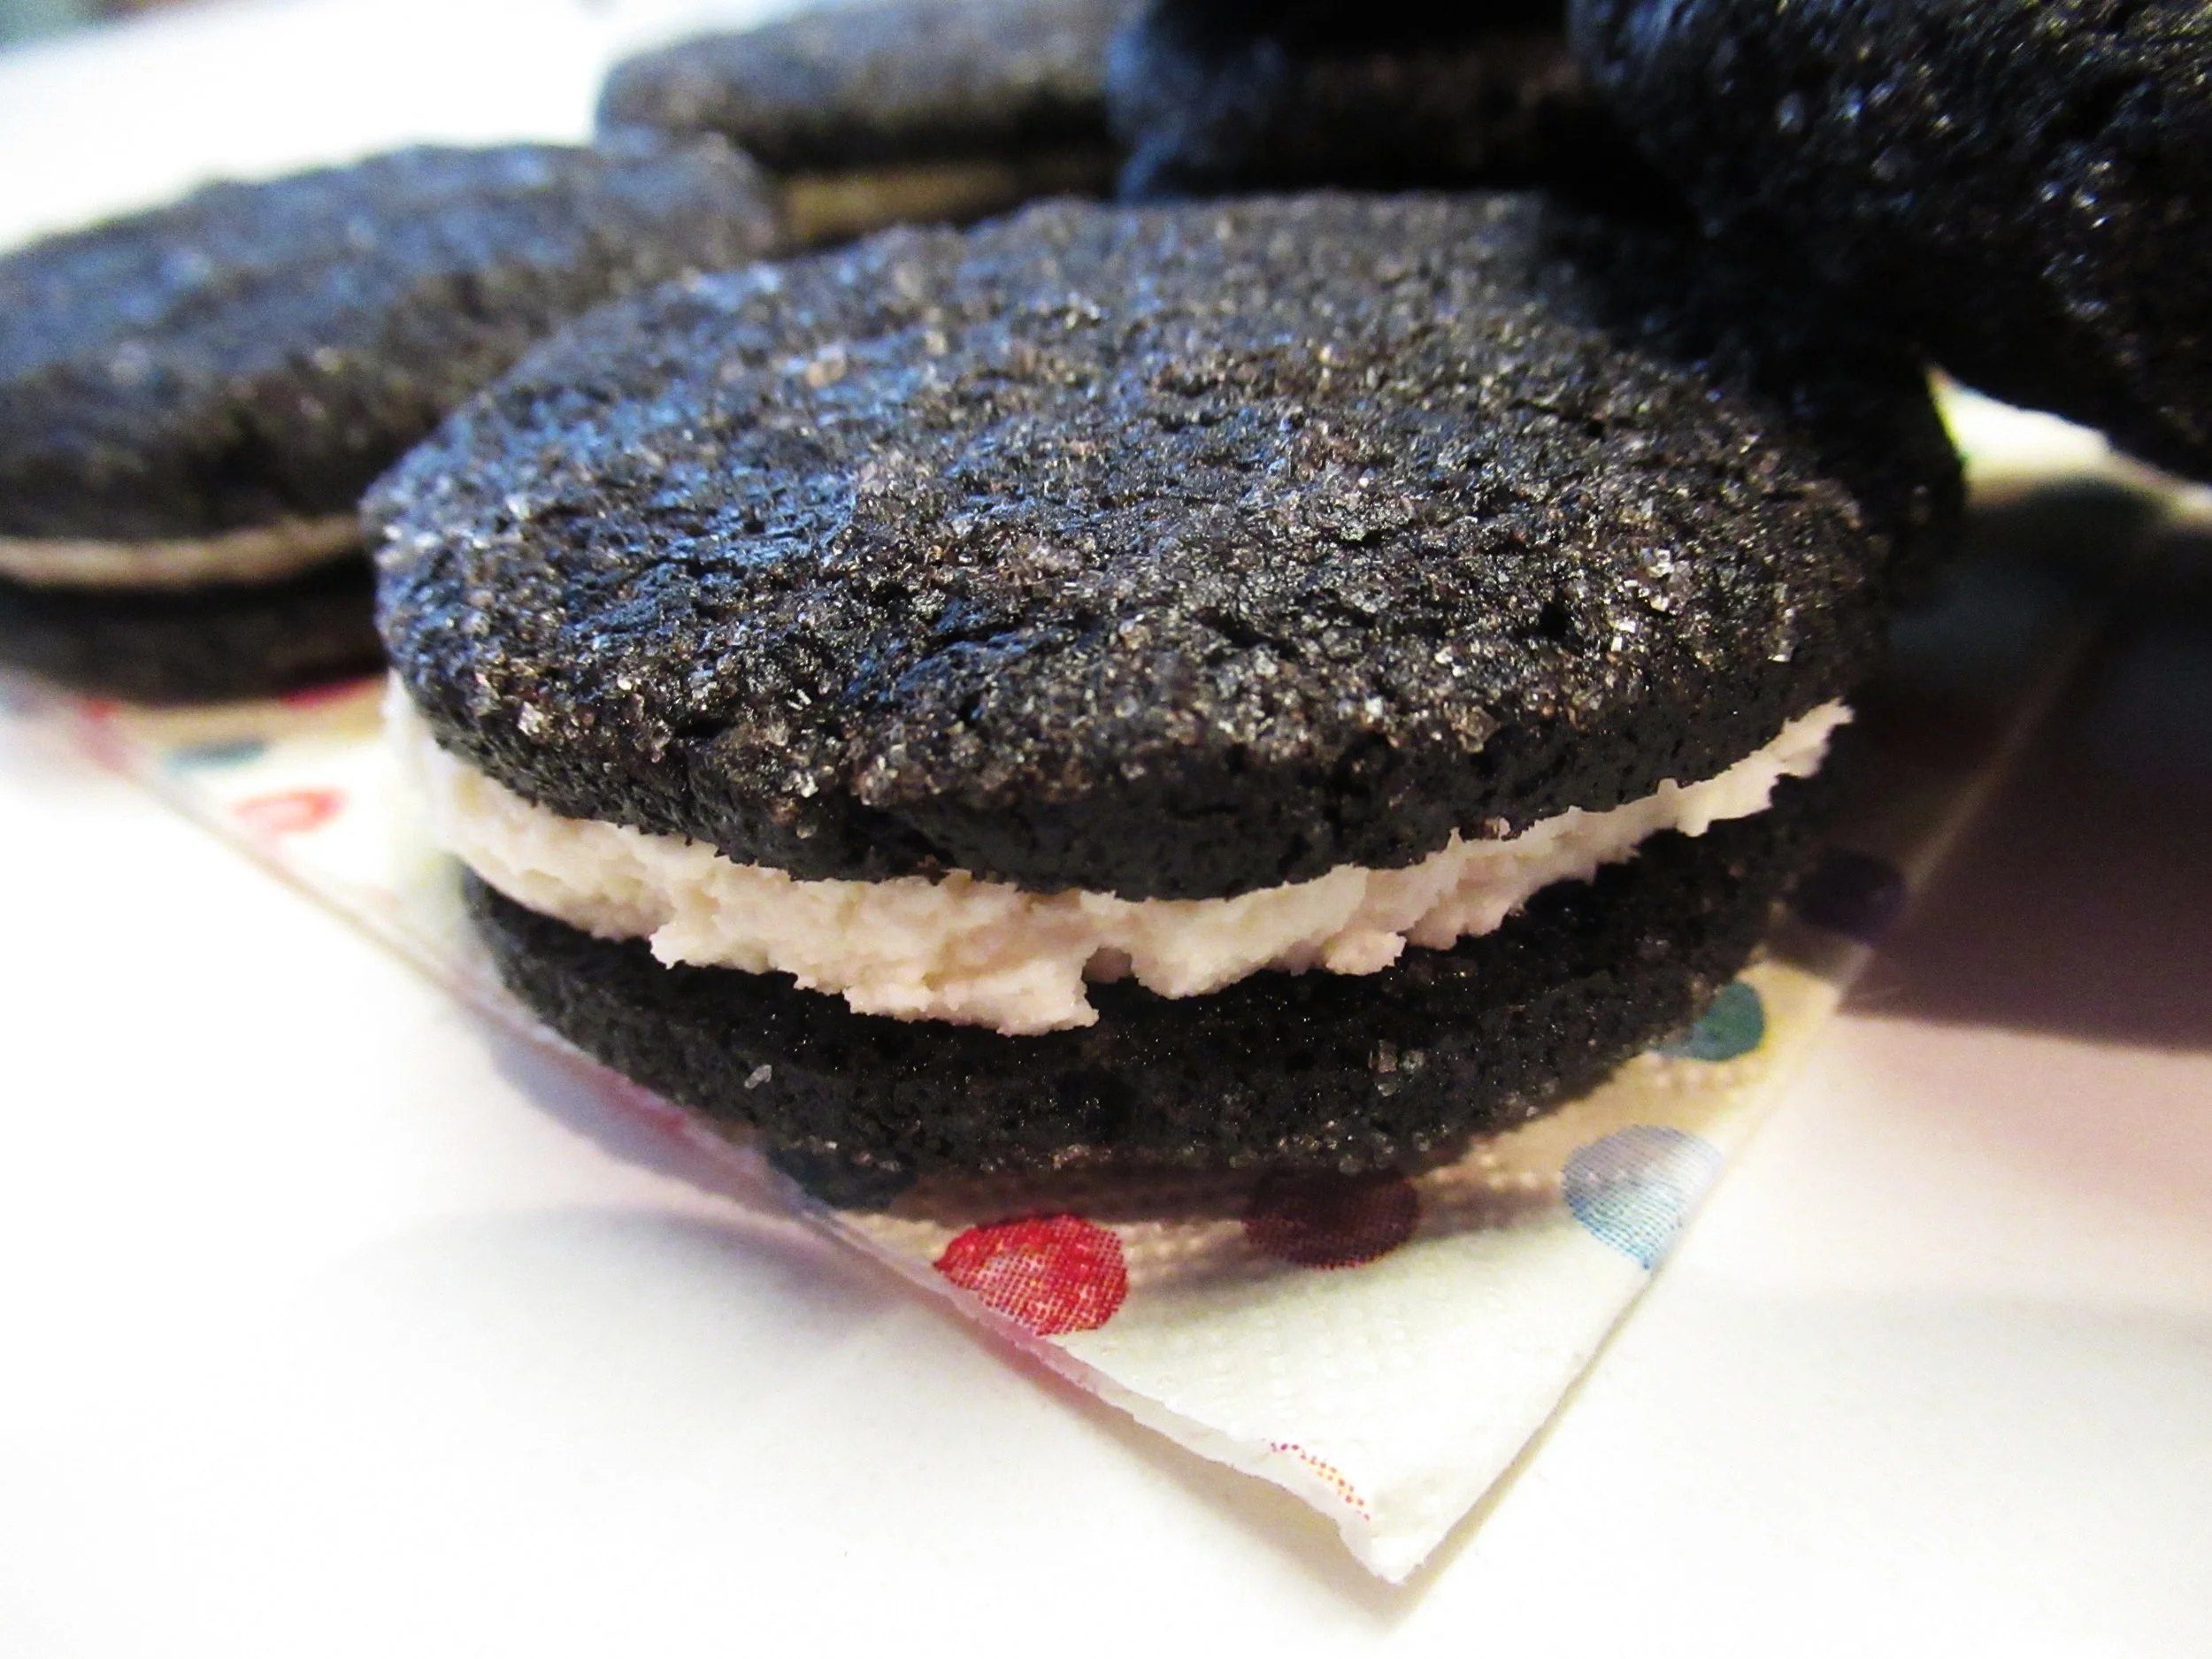
To me comparing the black cocoa to normal cocoa was similar to the difference between semi-sweet chocolate and dark chocolate. There was so much depth in the flavor of these cookies without the extra sweetness!

And the buttercream! Oh my goodness. So wonderfully delicious and also not too sweet.

The crunch of the cookie!! I went ahead and baked them the extra two minutes and that really paid off. Although I didn’t mind that as these cookies softened as they sat out over the next few days.

Mess Report:
I was going to make these regardless of the mess, but honestly it wasn’t too bad! You can see the dishes required from making the cookies and then the buttercream.


Now I’m very curious about using black cocoa in other recipes! One in particular I have in mind is a spumoni bundt cake that has three layers: pistachio, cherry, and chocolate. I made it last spring (not part of this project) and my only minor complaint was that I wanted the chocolate layer to have a bolder flavor. This might do the trick!

Or I could just make more of these!