

Lemon Meringue Pie

Date Completed: 4/3/2022
If you’re going to do a cooking project, you’ve got to make a Lemon Meringue Pie. At least, that was my mindset. This one felt like a must! I found the recipe in the Pies and Tarts chapter of Baking Illustrated.
I had high expectations for this recipe! The pie dough included what seemed like an ingenious twist - it’s coated in graham cracker crumbs! The stated benefits included maintaining a crisp crust, promoting browning, and adding a complementary flavor. I’m sold - let’s get started!


This pie dough starts in the food processor. A few quick pulses of flour, salt and sugar prior to adding some shortening. That is processed until sandy. Then cold butter pieces are cut in with a few pulses.
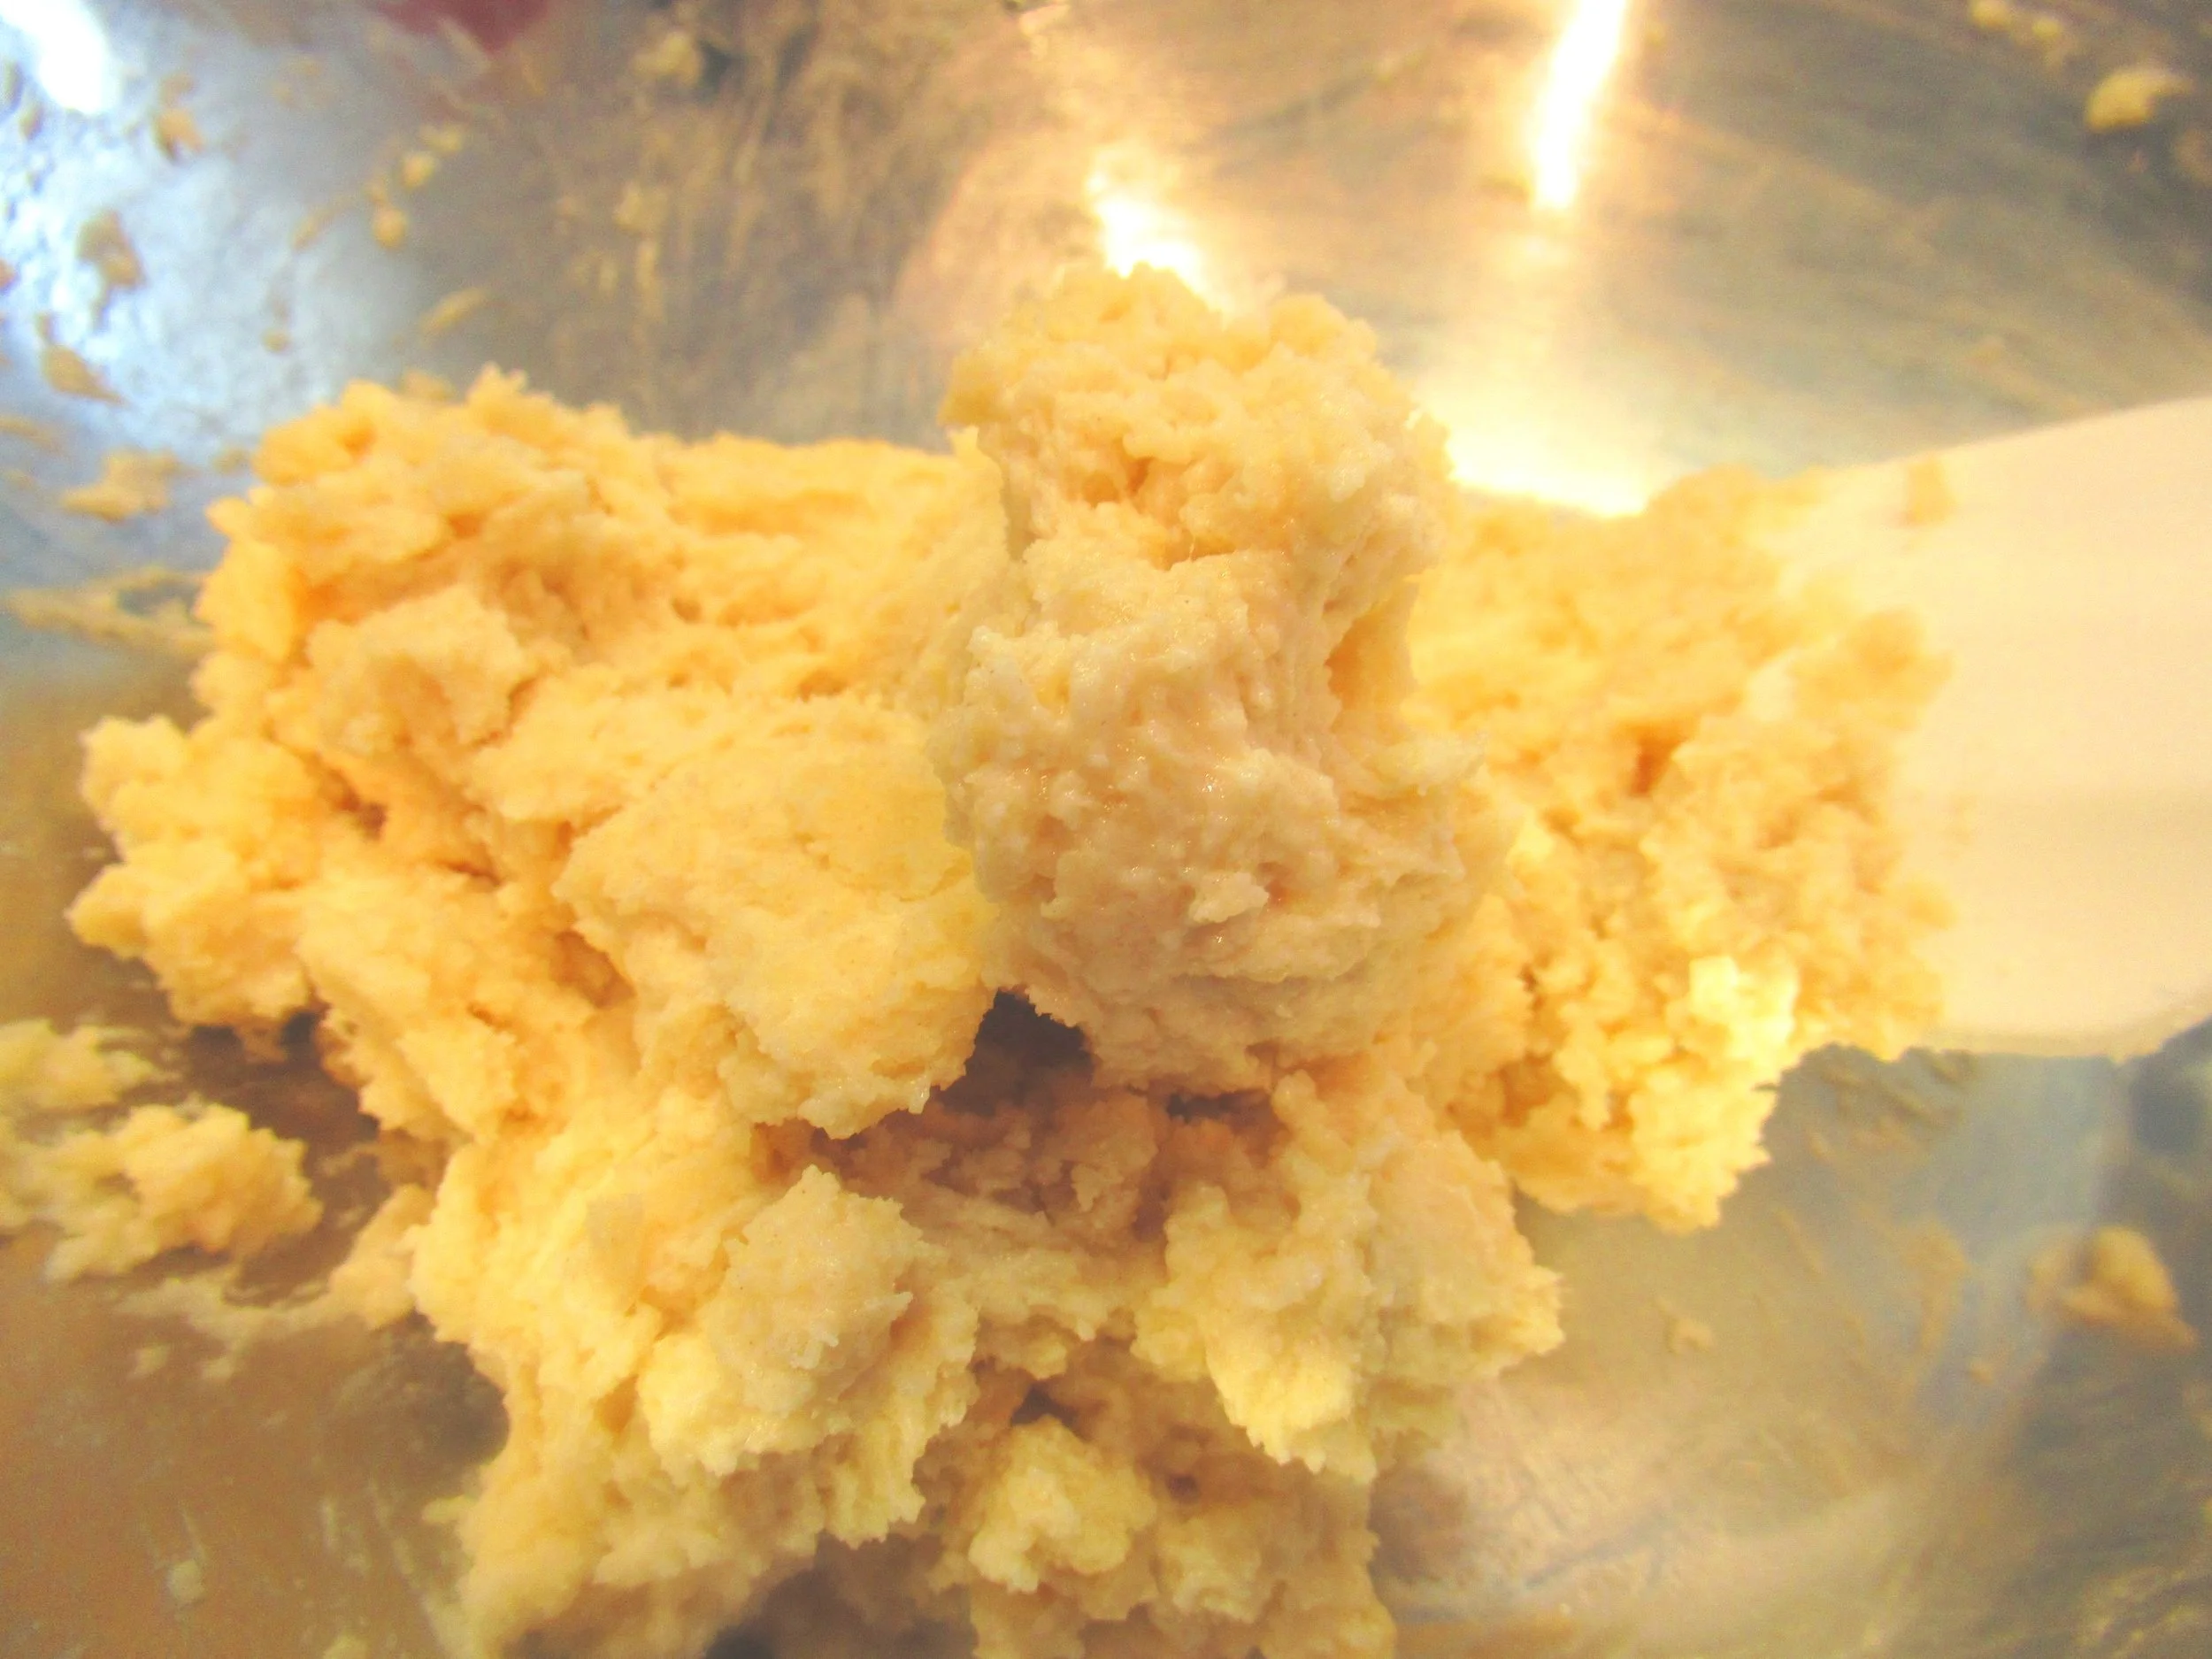
I transferred the crumbly dough to a bowl and added a few tablespoons of ice water. Then used a spatula to fold the dough together. I formed it into a disk and refrigerated.


Now the exciting part - rolling it out and coating with graham cracker crumbs! You start by adding a few tablespoons of crumbs to your work surface. As you roll out the pie crust, you continue adding more crumbs on top of and underneath it until heavily coated.
I wondered at this point if I had rolled it out too thin. It broke a bit as I transferred it to the pie dish.


Nevertheless I got the pie dough into the dish and repaired the few tears with more dough and crumbs.
I covered the dough with heavy duty aluminum foil and my “pie weight” beans so that I could blind bake this crust.
I’ll say I was not completely satisfied with the results of the blind baking. I had a few cracks in the base and the graham crackers seemed to get a little too toasty.


As the pie crust cooled, I started working on the lemon filling. This started as a mixture of sugar, cornstarch, salt and water simmering over medium heat. I whisked until it began to thicken and became translucent.
Then I started to add in 6 egg yolks. I learned this recipe is egg yolk-heavy for richness and strong lemon flavor. That strong lemon flavor came from a combination of grated zest and lemon juice. I added a few tablespoons of butter at the end.
I whisked all of that until very smooth. Then I covered directly with plastic wrap to keep it warm and prevent a skin from forming on the surface.


The meringue started on the stove with water and cornstarch that I combined and heated to a simmer.
I also prepared by mixing a bit of cream of tartar with half a cup of sugar.
Quick note: on a recent winery tour, we learned that cream of tartar is made from “wine diamonds.” Or, more scientifically, tartaric acid, which is a byproduct of the winemaking process. I found that fascinating!
Back to meringue: I got out the stand mixer and started whisking 4 egg whites with vanilla extract until that got frothy. Then I started adding the sugar mixture about a tablespoon at a time as the mixer continued to run. Lastly I slowly added tablespoons of the cornstarch mixture. I kept the mixer running until we saw stiff, glossy peaks.
As the meringue finished whipping up, I returned the lemon filling to the stove to warm it. The recipe instructed this to ensure the bottom part of the meringue would cook evenly with the top rather than remaining soggy. Made sense to me!


To assemble, I poured the hot lemon filling into the pie shell. Then I started piling the meringue over the top. It was a bit tricky at first as the filling didn’t quite want to stick to the lemon surface, but I got the feel for it quickly.
After making sure to anchor the meringue all the way to the edge of the pie crust, I used the back of a spoon to create the peaks. This baked for about 20 minutes, until golden brown.

It came out of the oven looking quite beautiful! We were supposed to wait until it came to room temperature before serving, so we practiced our patience.
Really, we were back working on the Cacio e Pepe from my last post. The time passed quite productively!
Taste Report:
Hmm…
Can I admit it? For my personal taste, lemon does not work as the star flavor of a dessert. I’m sorry. I don’t like it. Why would I ever choose lemon when I could have something with chocolate?
That said, this was so fun to cut into! It really looked like a show-stopper with the thick layer of pillowy meringue.
The crust, however, I hated!!! Talk about a strong burnt flavor. Yuck! Perhaps if I had made it thicker, the graham cracker crumbs wouldn’t have done that? I’m not certain if I’m willing to try this again. The cookbook does recommend the same crust for cream pies, so I could get my chocolate pie out of the deal. We’ll see!

Transparently, we each had a piece and that was about it for this pie.
A very fun baking experience, but a very poor eating experience.
Mess Report:
Ack! Look at that messy, graham cracker-y countertop! And all those sticky bowls/sauce pans!


The mess on this was not fun.

It sure was pretty! Let’s not try to make lemons into dessert anymore, though. We’ll leave them where they belong - brightening up savory dishes!
Stay tuned for my next post to see a much better application of lemon flavor!