

Easy Artisan Bread

Date Completed: 10/24/2021
We made more bread! A LOT more! We’ll place the blame on our new Easy Bread cookbook. Since our first loaf back in October, we have made quite a few variations of the Easy Artisan Bread recipes in the Let’s Get Started chapter. We froze portions of the original dough and have also made two additional dough batches over the last few months.
The first chapter of Easy Bread begins with a basic dough recipe called, you guessed it, Easy Artisan Dough. The pages that follow explain how to use the dough in a variety of shapes and flavorings. In our adventures thus far we have made:
2 baby boules
1 baguette
1 fougasse
1 off-book experiment with the dough in our ceramic bread baker


My understanding is that the book will eventually build us up to additional “base” recipes and more advanced techniques. For now, we’re very happy with our easy breads!
The dough comes together in a snap with a bowl and a wooden spoon - no stand mixer or kneading required!
The book actually calls for a Danish dough whisk but lists a wooden spoon as an acceptable stand-in. If you know what a Danish dough whisk is, I applaud you. You’re far more cultured than me. I haven’t looked it up yet, and I’m having a hard time imagining any kind of wire whisk being able to stand up to a thick and sticky dough?
Dough whisk musings aside, here’s the dough process. You combine 6.5 cups of bread flour, a tablespoon of kosher salt, and two packets of instant yeast. Then you add three cups of 100 degree water and combine for 40 strokes. This counts as your arm workout for the day!
You then cover the bowl in plastic wrap and leave it to rise for two hours. That’s the end of the dough recipe!


To make each type of bread, another recipe walks through steps for shaping, rising, and baking. Everything we’ve made has started with a quarter of the dough.
I don’t think we can call ourselves excellent bread-dough-shapers at this point, but we’ve had a lot of fun!
Baby Boule
Form the dough into a 6-inch circle. Sprinkle cornmeal on a cookie sheet (or cutting board in my case) and place the dough on top. Cover with a towel and let rise. Prepare oven by placing a baking stone on the middle rack and a broiler pan on the bottom rack. That will be used for hot water to create steam. Slide the dough from the cutting board to the baking stone directly in the oven. The cornmeal is supposed to act like miniature “ball bearings” to assist in the dough transfer. Once dough is on the stone, add hot water to the broiler pan and quickly close the oven to hold in the steam. Bake until the bread registers 190 degrees. Did you know that you can test the doneness of bread with a thermometer just like with meat? I didn’t until now!
BaguetteForm the dough into a 14-inch cylinder and pinch each end to a point. Sprinkle cornmeal on a cutting board and place the dough on top. Cover with a towel and let rise. Use the same method as above to prepare the oven with a baking stone and water bath. Then slide the baguette from your board onto the baking stone in the oven. SOS: Please try this at home and tell me how you don’t get cornmeal all over your oven. Bake in the steamy oven until bread is 190 degrees.
Fougasse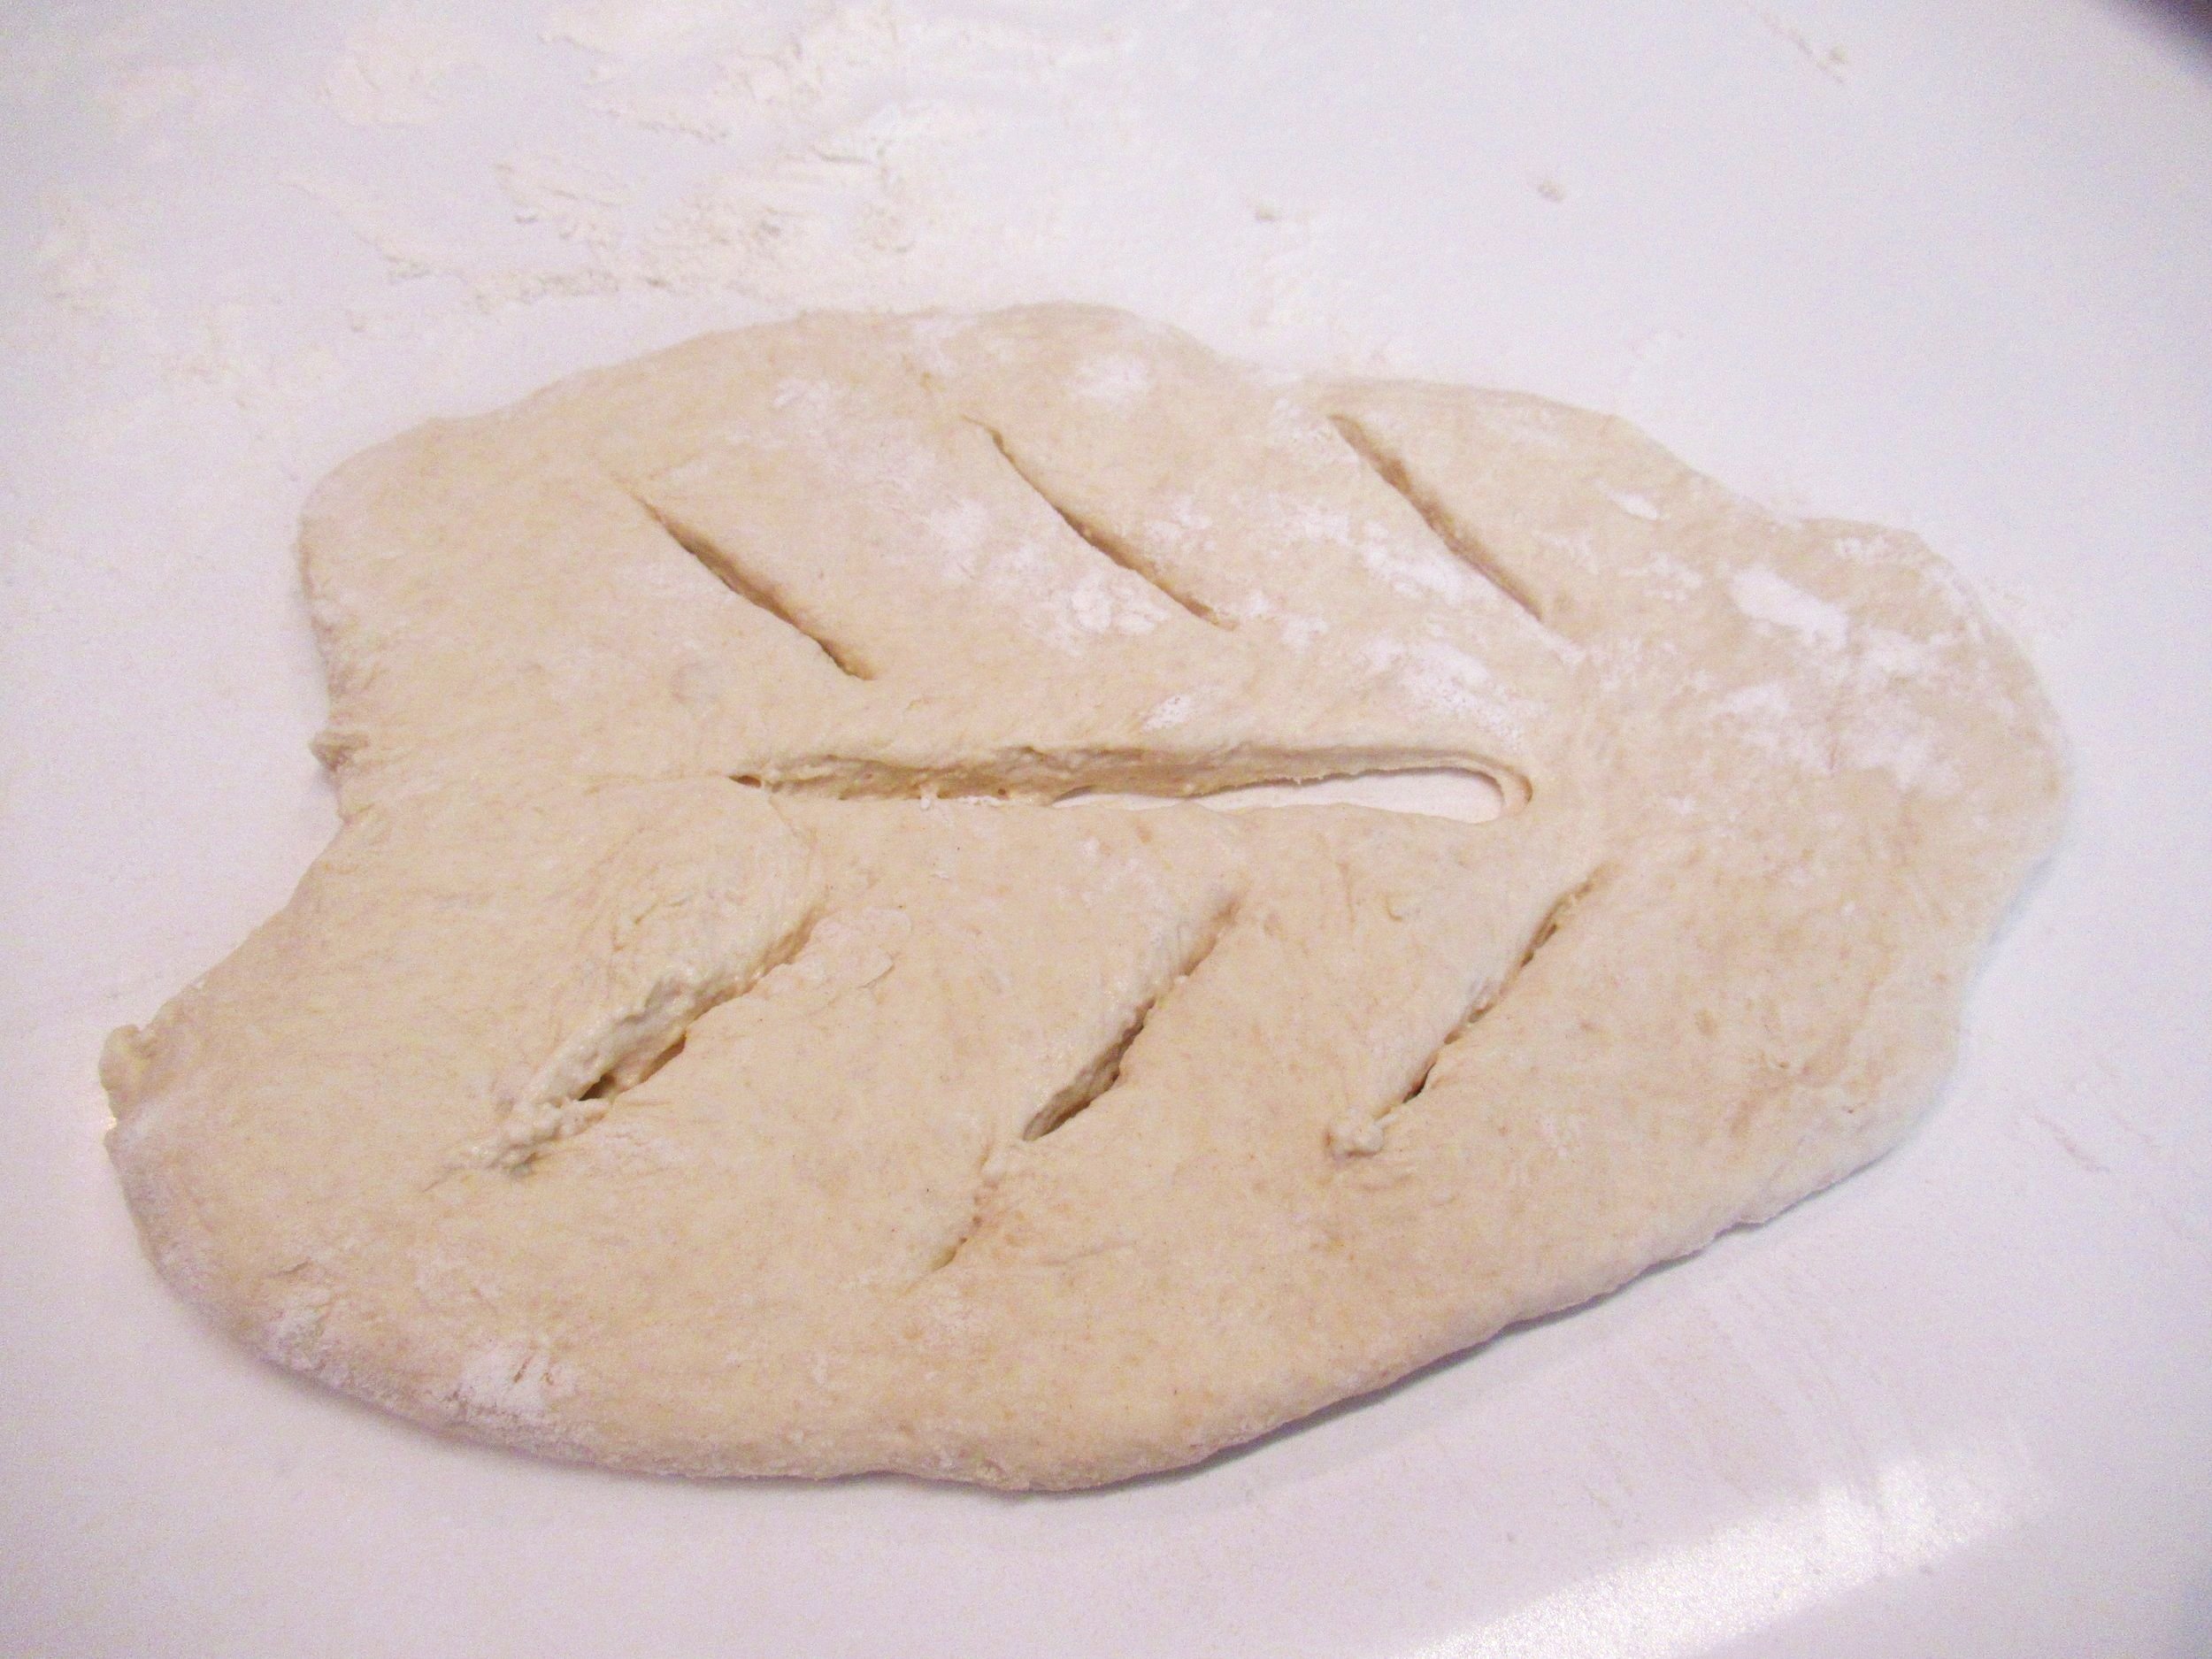
Use a rolling pin to roll the dough into a 12 by 6-inch oval shape. Use a sharp knife to make diagonal slits in the dough. Each side should be a mirror image. Then the scary part: transfer the dough by hand from the counter to a parchment-lined baking sheet. I learned that it stretches, but doesn’t break! This dough gets painted in olive oil (yay!). We also sprinkled it with an Italian herb blend. I wish I had a French herb blend, but oh well! Cover with a towel and let rise. The towel will be oily! Then place the baking sheet in the oven and appreciate how much easier this is than the cornmeal-to-baking stone method. Bake until golden brown.

Bread-bakerMy favorite shaping technique: plop the dough into the bread baker and let rise. Then bake for about an hour!
Taste Report:
I thought all our breads were delicious! Who doesn’t love bread? I found I don’t have a solid understanding of the language used to describe bread. On all the cooking shows they talk about the crumb and can tell whether the bread was over or under proofed. I could not tell you anything technical about our bread. All I can say is that not one crumb of any loaf went uneaten.
I did have two favorites: the fougasse and the baguette.

Of course, the fougasse had the advantage of olive oil and Italian herbs. Did you know that this is the French version of focaccia? Delicious!
Garrett did the shaping of the baguette, and I think he really nailed it. The dough rose very tall before baking and it was very soft. As Garrett loves to do… *chef’s kiss*
Since I only grabbed one photo of the baguette, here’s another of the baby boule!

Mess Report:
Happily, the dough doesn’t make a terrible mess dish-wise. The flour-covered countertops are notable, though. You’ll also want to make sure you at least rinse the dough bowl immediately. You definitely don’t want the residue to dry out and glue itself to your bowl!
As I alluded to above, a very messy side effect of the cornmeal method is the “lovely” burnt cornmeal that lined the bottom of my oven. Not exactly pleasant, but all is forgotten once you cut a slice.

Leftover Report:
We froze a lot of the dough! It looks so cute all packaged up. Sadly, though, freezing it did negatively impact how much the thawed dough rose. I made one baguette that didn’t rise at all! We thought perhaps we would use our remaining dough portions for homemade pizzas since that doesn’t need to rise much anyway. Problem solved!

Now excuse me as I finally go look up a Danish dough whisk!
